ReportsWorkorderLabelReport
Workorder/Unit Labels
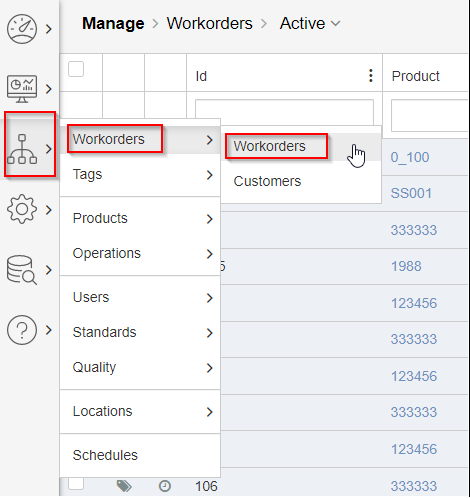
To begin printing Work Order and Unit labels, click on Manage -> Work Orders>Workorders
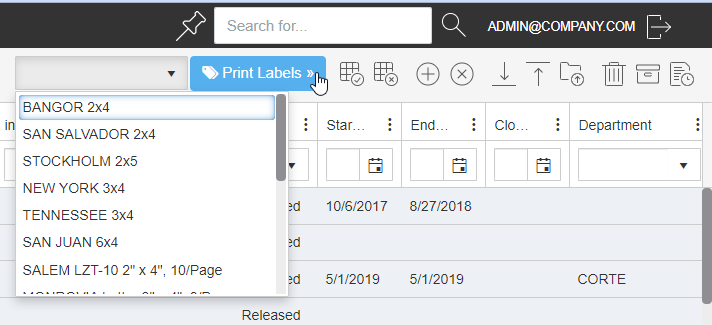
From here, select the corresponding WO and click on the Print Labels button at the top of the screen and select your desired label design. The first set of labels are unit labels and the next set are workorder labels followed by customer labels
Once you click on print, it will take you to another page to select the items you want to print (single or multiple).
Multiple Work Order/Unit Labels
It's possible to select multiple work orders for simultaneous printing.
To do this, start by clicking the desired individual workorder check boxes in the far left of the Manage>Workorders view. (orange box)
The top left check box (green box) selects all workorders on the page.
The workorders selected for printing will be marked in blue.

Unit labels
After selecting the desired Workorders, choose the prefered label size in the drop down menu.
The label sizes in the top of the menu will be the unit labels within the selected workorders.
Workorder labels
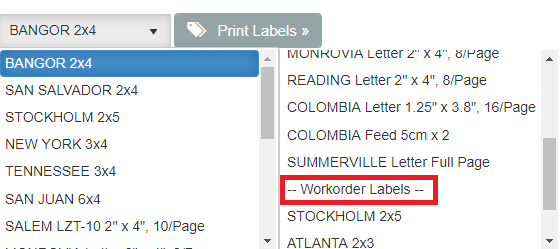
Scrolling down will show 'Workorder Labels'. (red box)
All label sizes below this line will print workorder labels only.
When the selection of workorders and label size is done, click 'Print Labels'
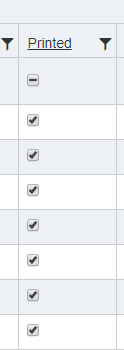
After print, the printed workorders will automatically be checked under the 'Printed' column
(If this column is hidden - click 'Toggle Columns')
Notes about reports: All
For each report you will see a blank screen and possible error message, this is normal. You have to first select data from the right of the screen followed by “Preview” to fill out the data you wish to print.
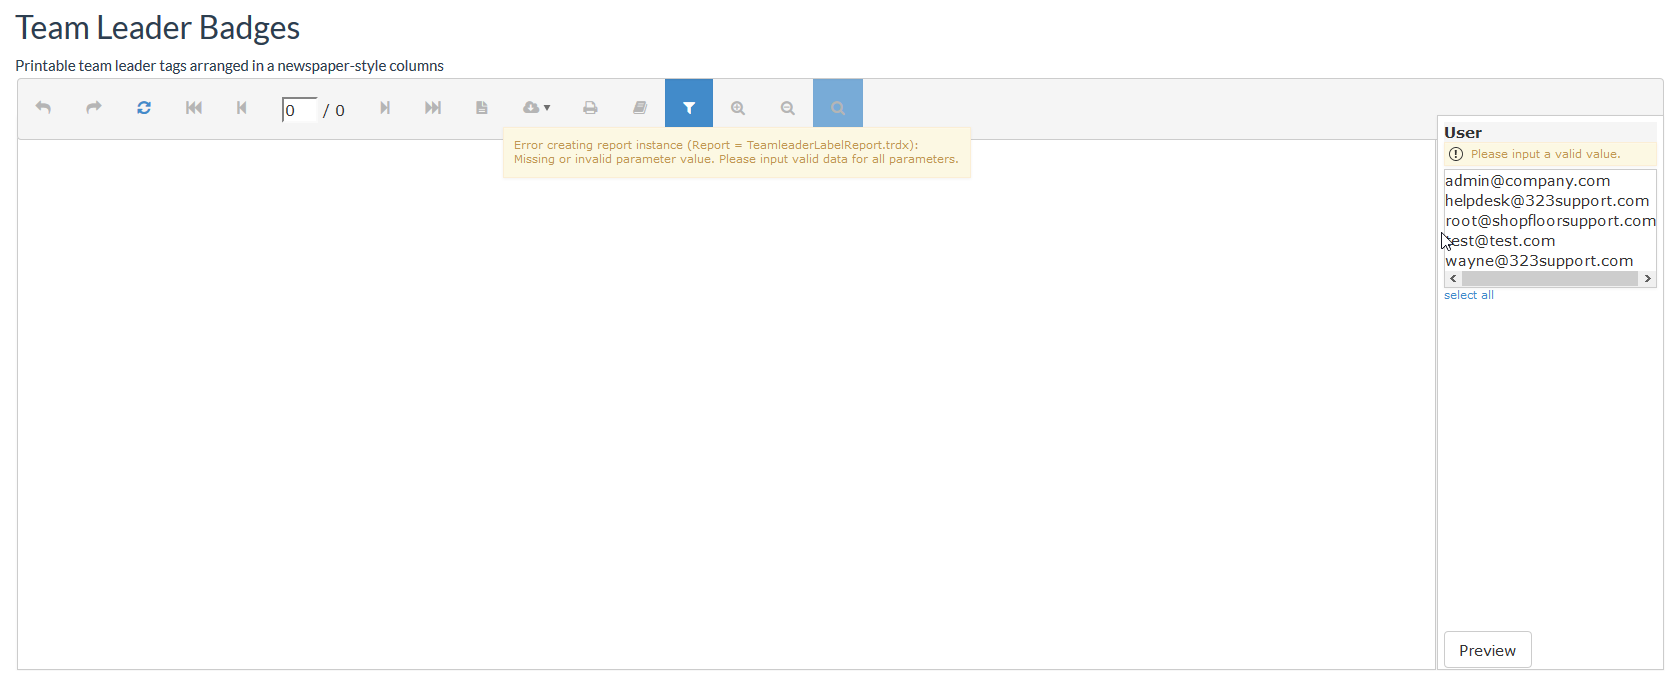
Once you highlight the data and select preview, you can select print at the top of the screen. You can click multiple items to preview and print – single left click will select/deselect items.
Copyright © 2020 by Aptean. All rights reserved.
Created with the Personal Edition of HelpNDoc: Effortlessly Publish Your Word Document as an eBook